These are the instructions for setting up the AV equipment in Conference Room 2; for other rooms, please return to the AV Assist landing page.
How to operate the projector:
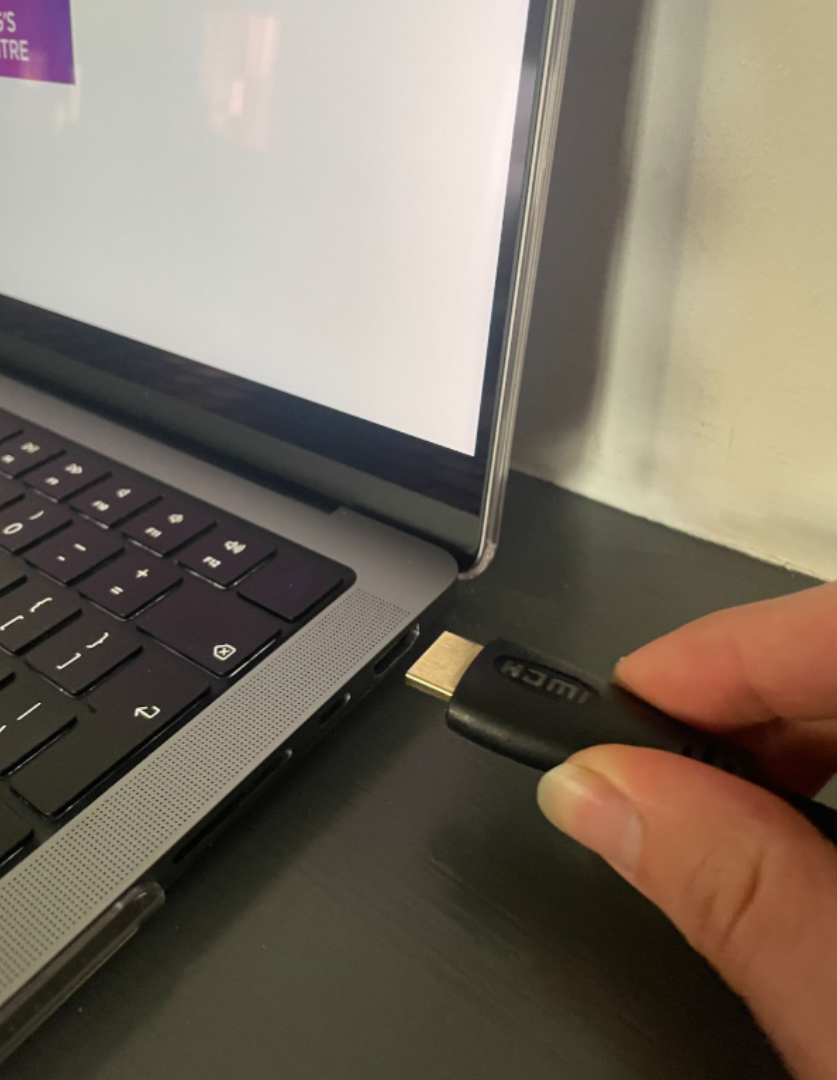
Locate the HDMI cable at the front of the room. Make sure one end is securely in the port of the black box on the front wall. Take the other end and put it in the HDMI port of your computer.

Make sure the black box power and the projector wall switch located on the front wall (labelled “PROJECTOR ON”) are both switched on.
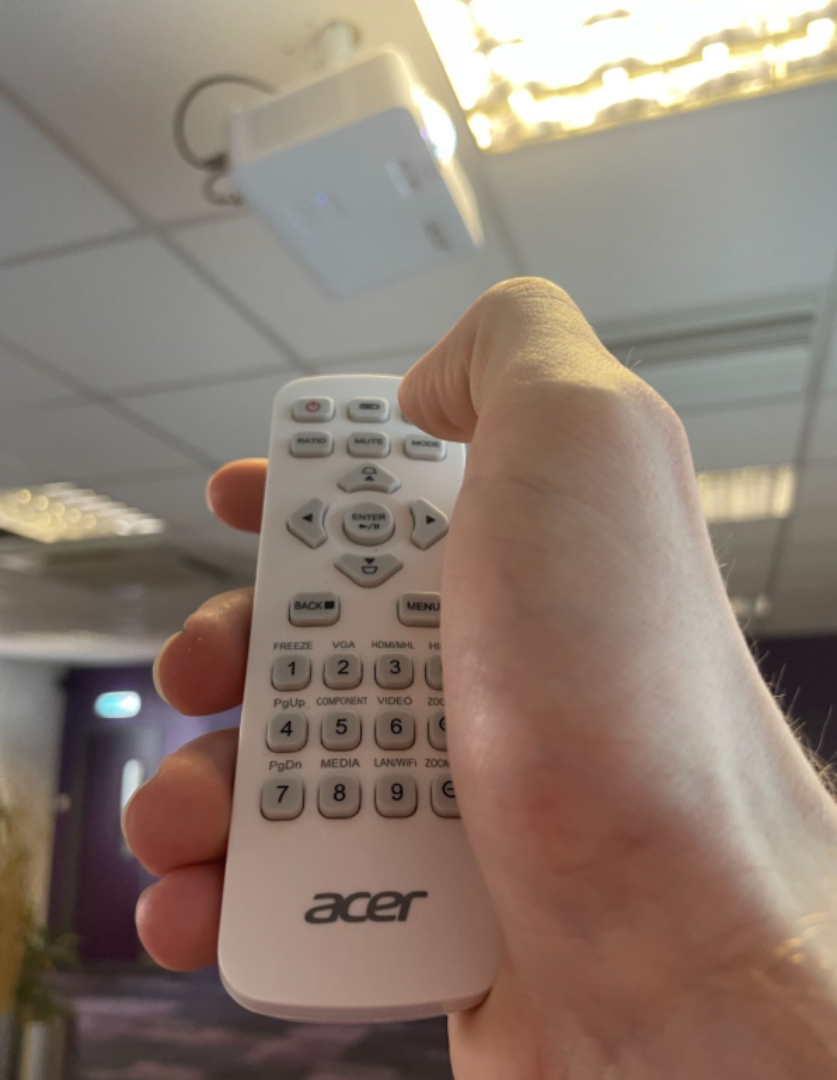
Using the remote provided, point it towards the projector and switch on.

Allow a few minutes for the projector to warm up. While it’s doing this it will show a black screen as it searches for the signal from your laptop. Once the signal is found it will project onto the wall.


To get sound:
Sound is received through a separate headphone cable that runs from the black DVD player located at the front right of the room. Take the end of the cable and plug it into the headphone port of your computer.

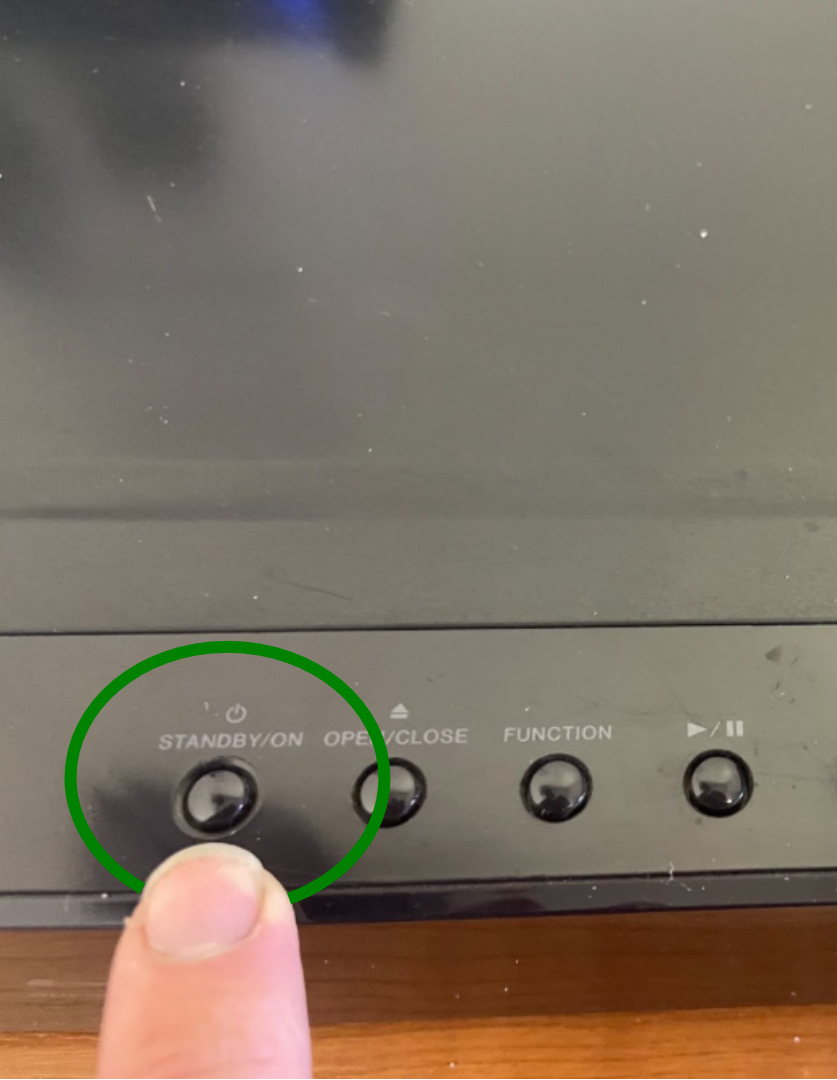
Once plugged in, press the power on button located on top of the DVD player. Please wait while the DVD player turns on.

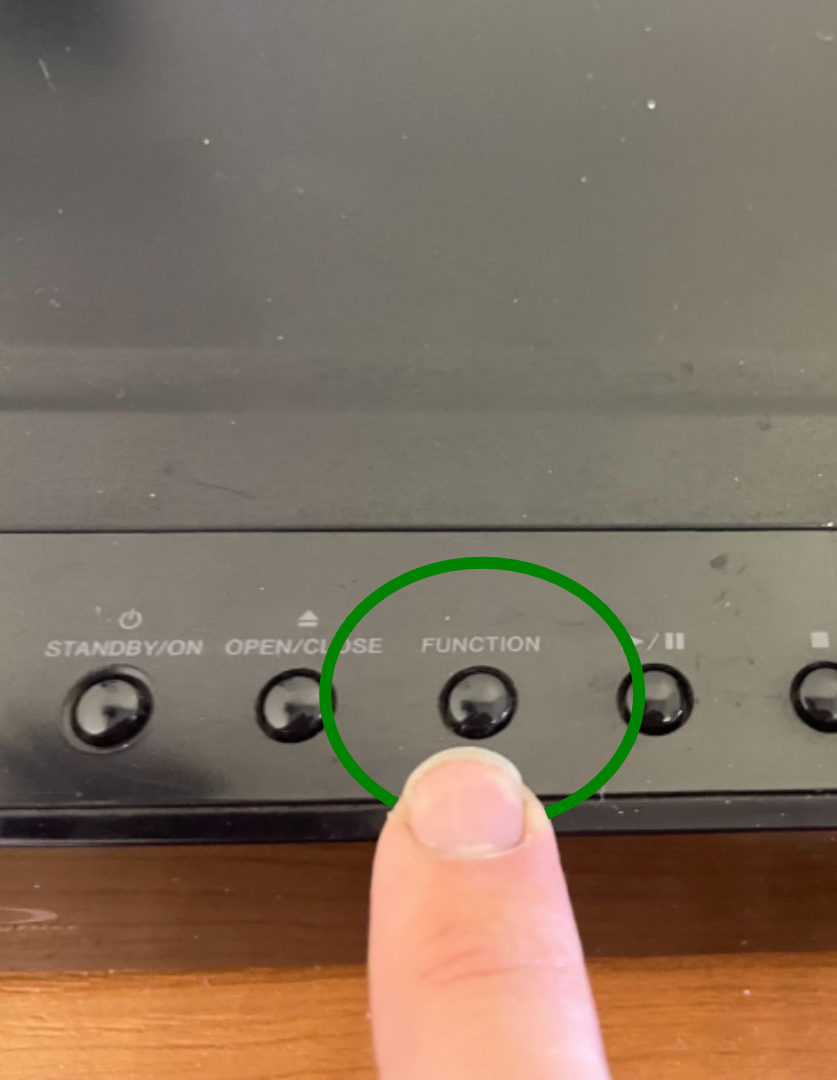
Once on, check the display screen says ‘AUX’. If it doesn’t press the function button located on the top of the player until it does.
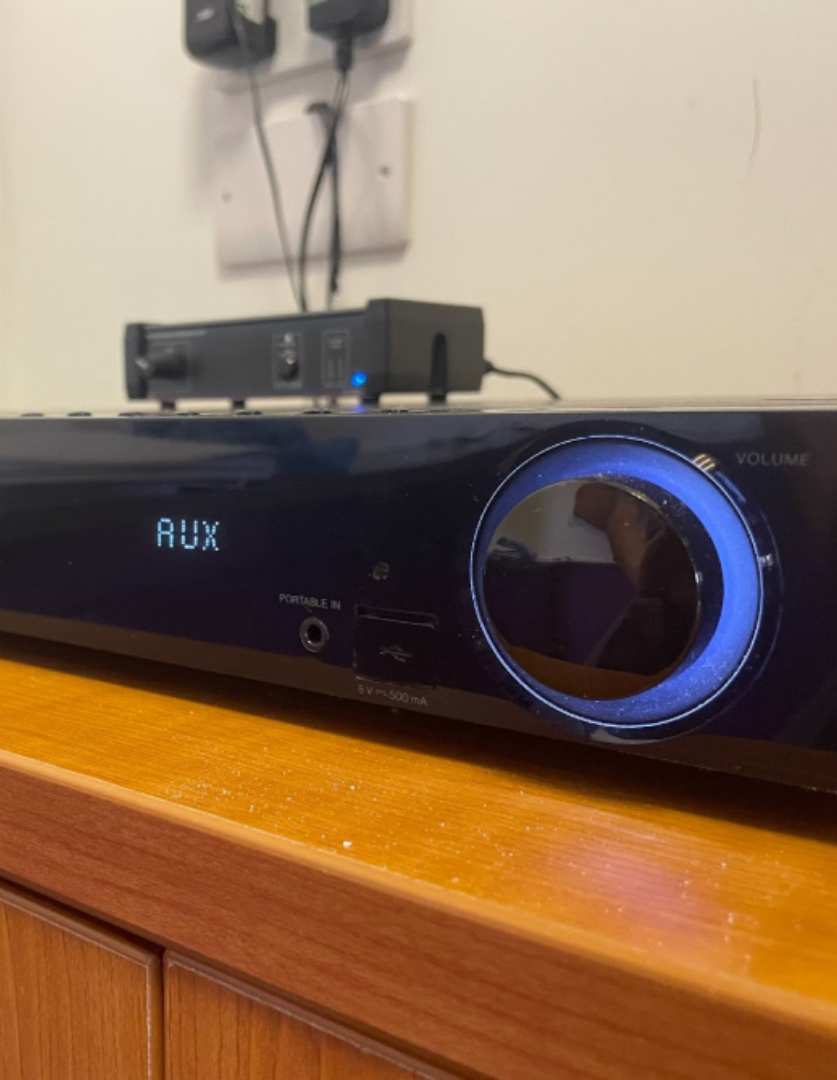
You can now use the volume knob located on the front of the player to adjust the level of the sound.
If you have trouble with these instructions, or the instructions are not resolving your problem, please call Reception on 01603 765795 and someone will come to assist you.